CH-47
Chinook
Body Assembly Notes
Thank you for
purchasing the
CH-47 parts pack. Here are some notes to aid in cutting out and
assembling the body parts:
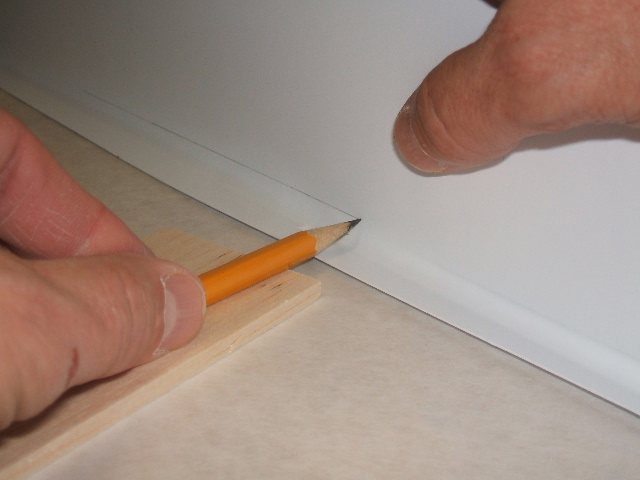
1. Trimming the Body Shells:
The best way to trim the body shells is to lay each shell on a flat,
smooth
surface, and to block up a pencil on a wood shim (or use a surface
gauge) so
that you can mark around the perimeter of the shell about 1/16" above
the
parting seam between the shell and the riser (about 5/16" above the
work
surface).
Once you've marked
around the
shell, use scissors or aviation snips to carefully trim away the
flash.
Small and/or curved scissors are a real help in working around the
inside
corners at the fore and aft pylons. Take
your time here. Once trimmed, you can lightly sand the edge to
make sure
there are no nicks or sharp corners; these nicks can propagate into
cracks if
left unattended. Note: Cracks can be repaired with a small
patch of
1.5 ounce glass cloth CA'ed to the inside surface. This can also
be used
to reinforce any thin spots before they crack.
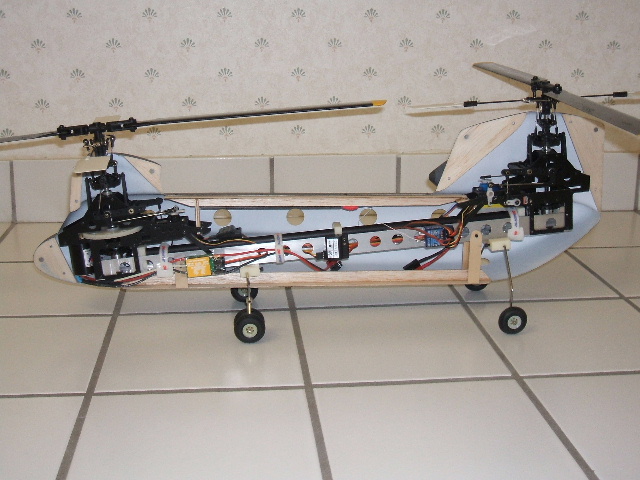
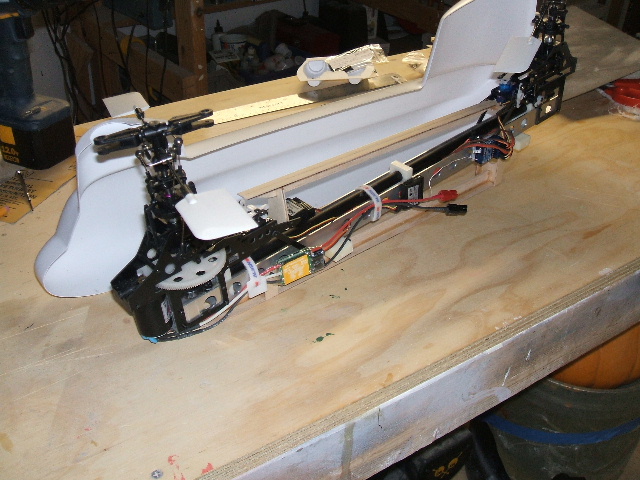
2. Body Support Keels:
The lower and upper mounting keels are fabricated from 1/16" ply and
1/8" balsa. The lower keel tilts the heli's main truss 6.5
degrees. With the lower keel in place, you can check the fit in
the left and right body shells. Now is the time to mark and trim
the 1 3/8" diameter semi-circular cutouts for the rotor heads.
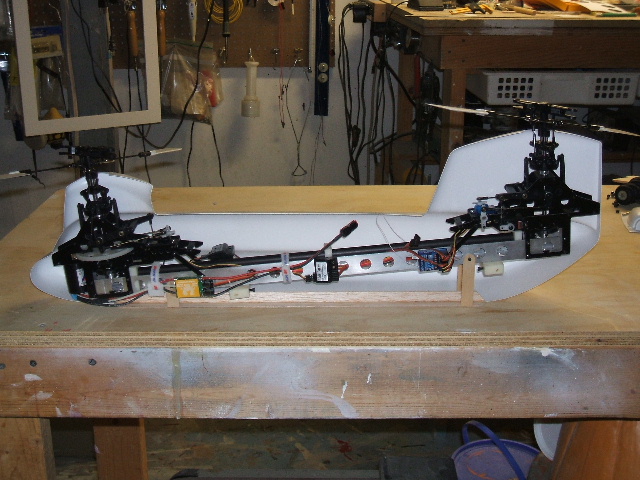
The upper support
keel is added next. This too is fabricated from 1/16" ply and
1/8" balsa. The body shells are mounted to the keels with small
screws. I used #0 X 1/4 pan head sheet metal screws from
MicroFasteners.
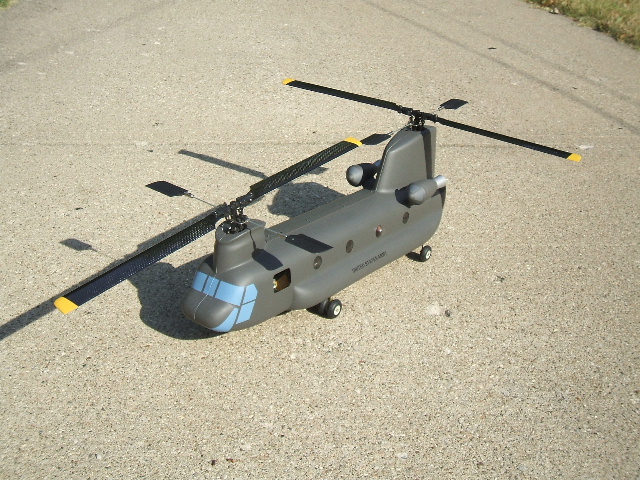
3. Balsa Corner Gussets:
1/8" balsa gussets are added to the nose and the corners of the front
and aft pylons. These gussets have rare earth magnets inset into
their corners. The magnets clip the shells together. Note
the round holes for the landing gear struts.
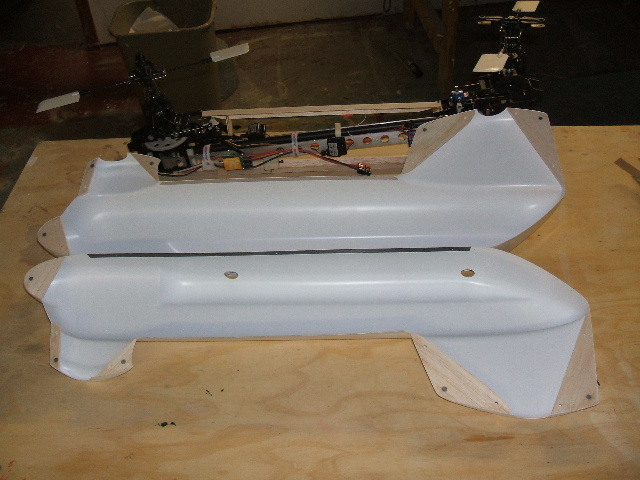
4. Final Assembly: The shells are installed by threading them over the bare landing gear struts and are screwed to the keels. The rare earth magnets in the gussets clip the halves together. With everything checked over, the body is ready to paint.